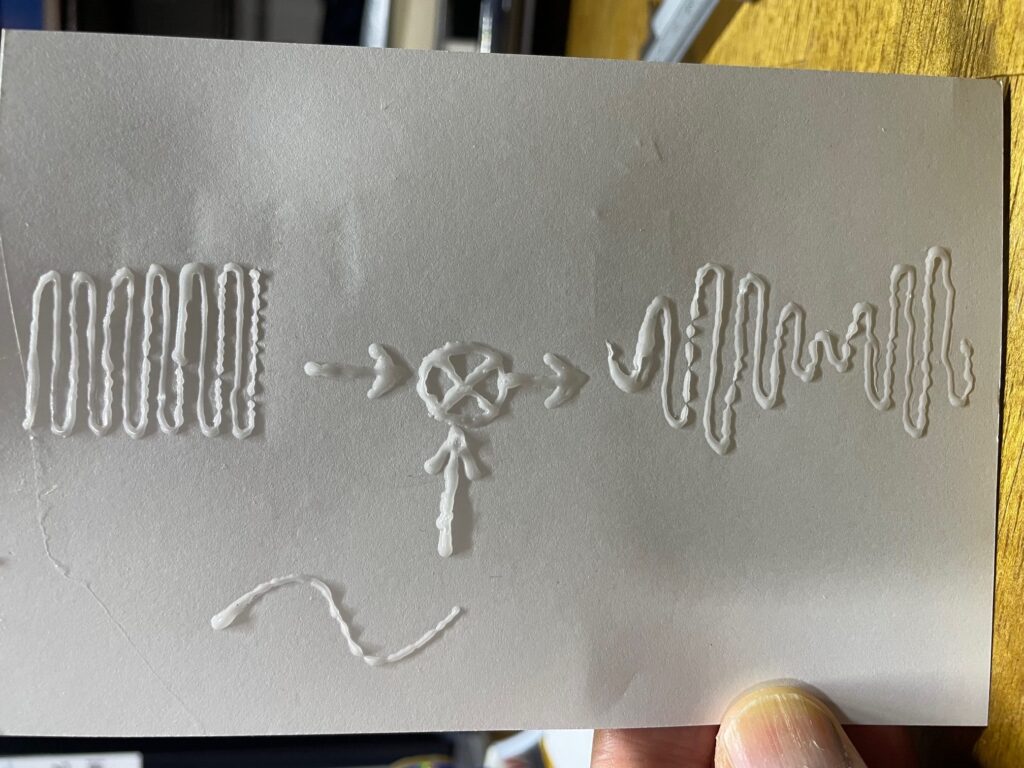
After the 3doodler, the next thing I ordered online was a needle bottle. This is used to apply runny adhesives. The hole in the needle has an inner diameter of about 0.7mm. It’s like pouring wood glue into it and squeezing it out, but it requires a lot of force from my fingertips, which makes them shake, but on the other hand, it allows me to draw lines with a reasonable width.
If there’s no vibrato and the lines are thin, you can’t gain height, so Morse code is a little less legible. But it seems like you can reproduce subjects that are a little difficult to draw in dotted line drawings (the photo below is a diagram used to explain “amplitude modulation” in a beginner’s amateur radio textbook) to a degree that makes them somewhat understandable.

Here I will summarise the results of various experiments I have carried out.
| No. | Morse stamp method | width(mm) | height(mm) | photo |
|---|---|---|---|---|
| 1 | Tape writer | 1.2 | 0.3 |  |
| 2 | Embossing on Alumi-tape | 2.5 | 0.6 |  |
| 3 | Cut wood stick | 2.0 | 1.0 |  |
| 4 | Squeezing wood glue | 3.0 | 0.85 |  |
| 5 | Glue gun(hot bond) | 3.0 | 1.9 |  |
| 6 | 3-doodler start+(3D pen) | 1.0~2.0 | 1.3 |  |
| 7 | Wood glue from a needle bottle |
1.3 | 0.8 |  |
Looking at them all like this, I can’t help but think to myself, “This is a strange thing to do,”
So, which one is best in the end? Well…. I guess it depends on the case.